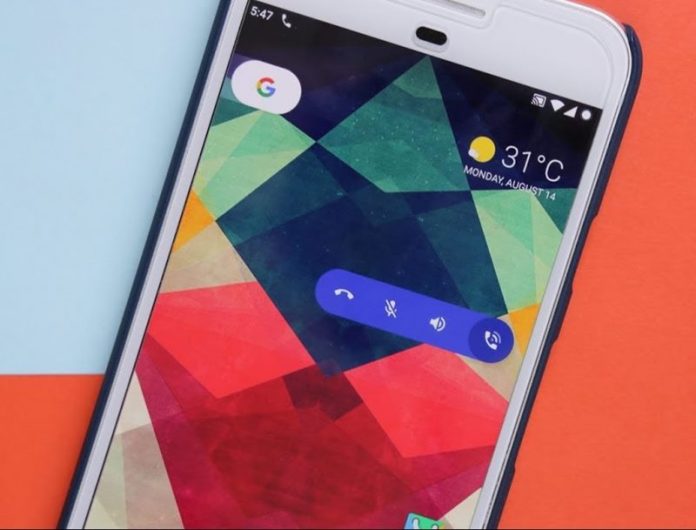
Now you can Enable Google Dialer’s New Floating Bubble Feature on your device using one android app that will help you to implement this. So have a look at complete guide discussed below to proceed.
Google new portable dialer feature is really amazing and it provides an exceptional ease in real time to those who are indulged in various tasks while the call is to be accepted. Though the various developers on the planet were always trying to make calling more easier and the interface to be well suited for more convenient calling.
NOTE: ROOT ACCESS REQUIRED-
How to Enable Google Dialer’s New Floating Bubble Feature
Google new portable dialer feature is really amazing and it provides an exceptional ease in real time to those who are indulged in various tasks while the call is to be accepted. Though the various developers on the planet were always trying to make calling more easier and the interface to be well suited for more convenient calling.
The Google Dialer’s floating bubble function have mesmerized the all other operating systems and hence have grasped a strong position in the minds of the people. Those who are utilizing the all new latest versions of the Android are able to access this amazing function while rest of the others are busy finding the way to get it on their devices.
It is not easy to get this system app functionality on every device and no direct way could prove to be helpful. There is a sure need for the implementation of some sort of method, and fortunately, there is a kind of method available for that. Here in this article, we have written about the method, if anyone of you is interested to know about that then please take a steady tour of this article and thoroughly read the full information provided inside here.
NOTE: ROOT ACCESS REQUIRED-
How to Enable Google Dialer’s New Floating Bubble Feature
- The method includes the download of the third party apps so it is required that you enable the installation from the Unknown Resources from the settings of the Android. Once you are done then go and download the Google Dialer app on your device from the Internet, or just go to this and hence grasp this amazing dialer app.
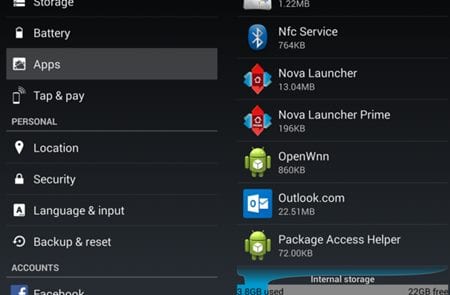
- Now this is a dialer app alike to the default dialer of the device and you can access it all through its icon from the app drawer but it won’t be considered as the default app for the calling or other functions. We have to make this app a default app so for that go to the Settings -> Apps. From there tap on the Gear icon that would be placed on the upper side of the settings screen. This will open up the new screen or the panel meant for the configuration of the apps.
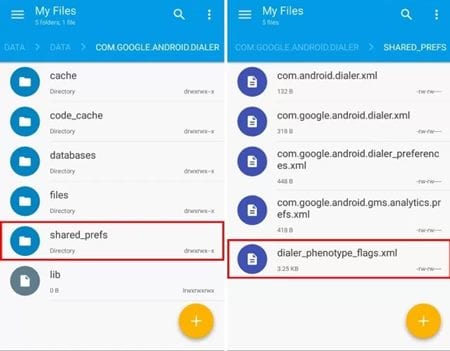
- Now select the Phone app option from there and then select the Google Dialer as the default app for the dialing functions on the device. After doing that close all the apps and then open up the File Explorer that is granted the Root access to the device. Head to the location- /data/data/com.google.android.dialer/shared_prefs, and tap on “dialer_phenotype_flags.xml from there.
- Open the XML file in the above location and you have to edit it, this would be a text programming, so just look for the G_enable_return_to_call_bubble boolean and then change its value to true rather than the default value of false. After making the changes you should save this file as it is.
- Just force stop the dialer app once so as to get up with the changes you have made and then restart it again through the Settings -> Apps -> Phone. That’s all. Now each change made to the dialer would take effect and you would be able to use the Google Dialer floating functions without any issues.


