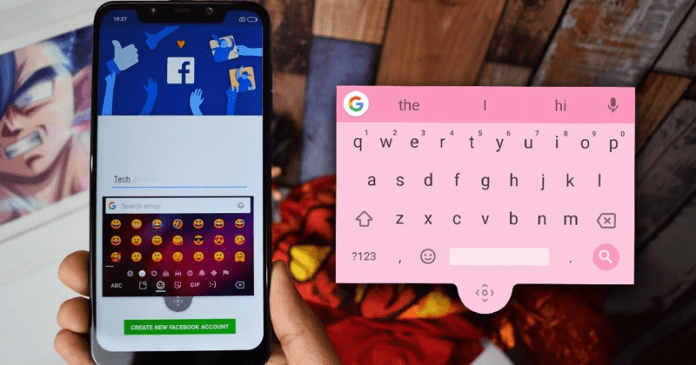
In this post, i will showing you how to enable floating keyboard on Google Keyboard application known as GBoard.
To accomplish this, you will be needing to download the Google GBoard Keyboard application from Google Play Store on your android smartphone. Its worthy to note that this application is free in the store.
How To Enable Google’s Gboard Floating Keyboard Mode
As just after selecting the option “Floating”, the keyboard will unpin from the lower area of your device screen, and you can simply move it to a position that is most comfortable for you. And to do this, simply you have to tap and hold the movable cursor icon below the keyboard and then drag it to your desired area.
And not only that even you can also resize the keyboard from the four corners simply to make it smaller or bigger. However, if you want to leave it where it was, simply drag it down until the edge lights up blue.
Moreover, the functions and features of the floating keyboard are exactly the same as the “static” version. Basically, this extraordinary feature of Gboard can be very useful to navigate through certain websites or to write in certain apps in which the keyboard occupies a good part of the screen. So, what do you think about this? Simply share all your views and thoughts in the comment section below.
- First of all open any application you can write in (example- note app).
- Open the keyboard on your device.
- Press the G icon that appears in the upper left area of the keyboard.
- A menu of options will be displayed.
- Select the three little dots on the right upper corner of the keyboard.
- After tapping that option, you will get four options “Text editing”, “One-handed”, “Settings” and “Floating”.
- To use floating keyboard simply you have to select the option “Floating”.
As just after selecting the option “Floating”, the keyboard will unpin from the lower area of your device screen, and you can simply move it to a position that is most comfortable for you. And to do this, simply you have to tap and hold the movable cursor icon below the keyboard and then drag it to your desired area.
And not only that even you can also resize the keyboard from the four corners simply to make it smaller or bigger. However, if you want to leave it where it was, simply drag it down until the edge lights up blue.
Moreover, the functions and features of the floating keyboard are exactly the same as the “static” version. Basically, this extraordinary feature of Gboard can be very useful to navigate through certain websites or to write in certain apps in which the keyboard occupies a good part of the screen. So, what do you think about this? Simply share all your views and thoughts in the comment section below.

